

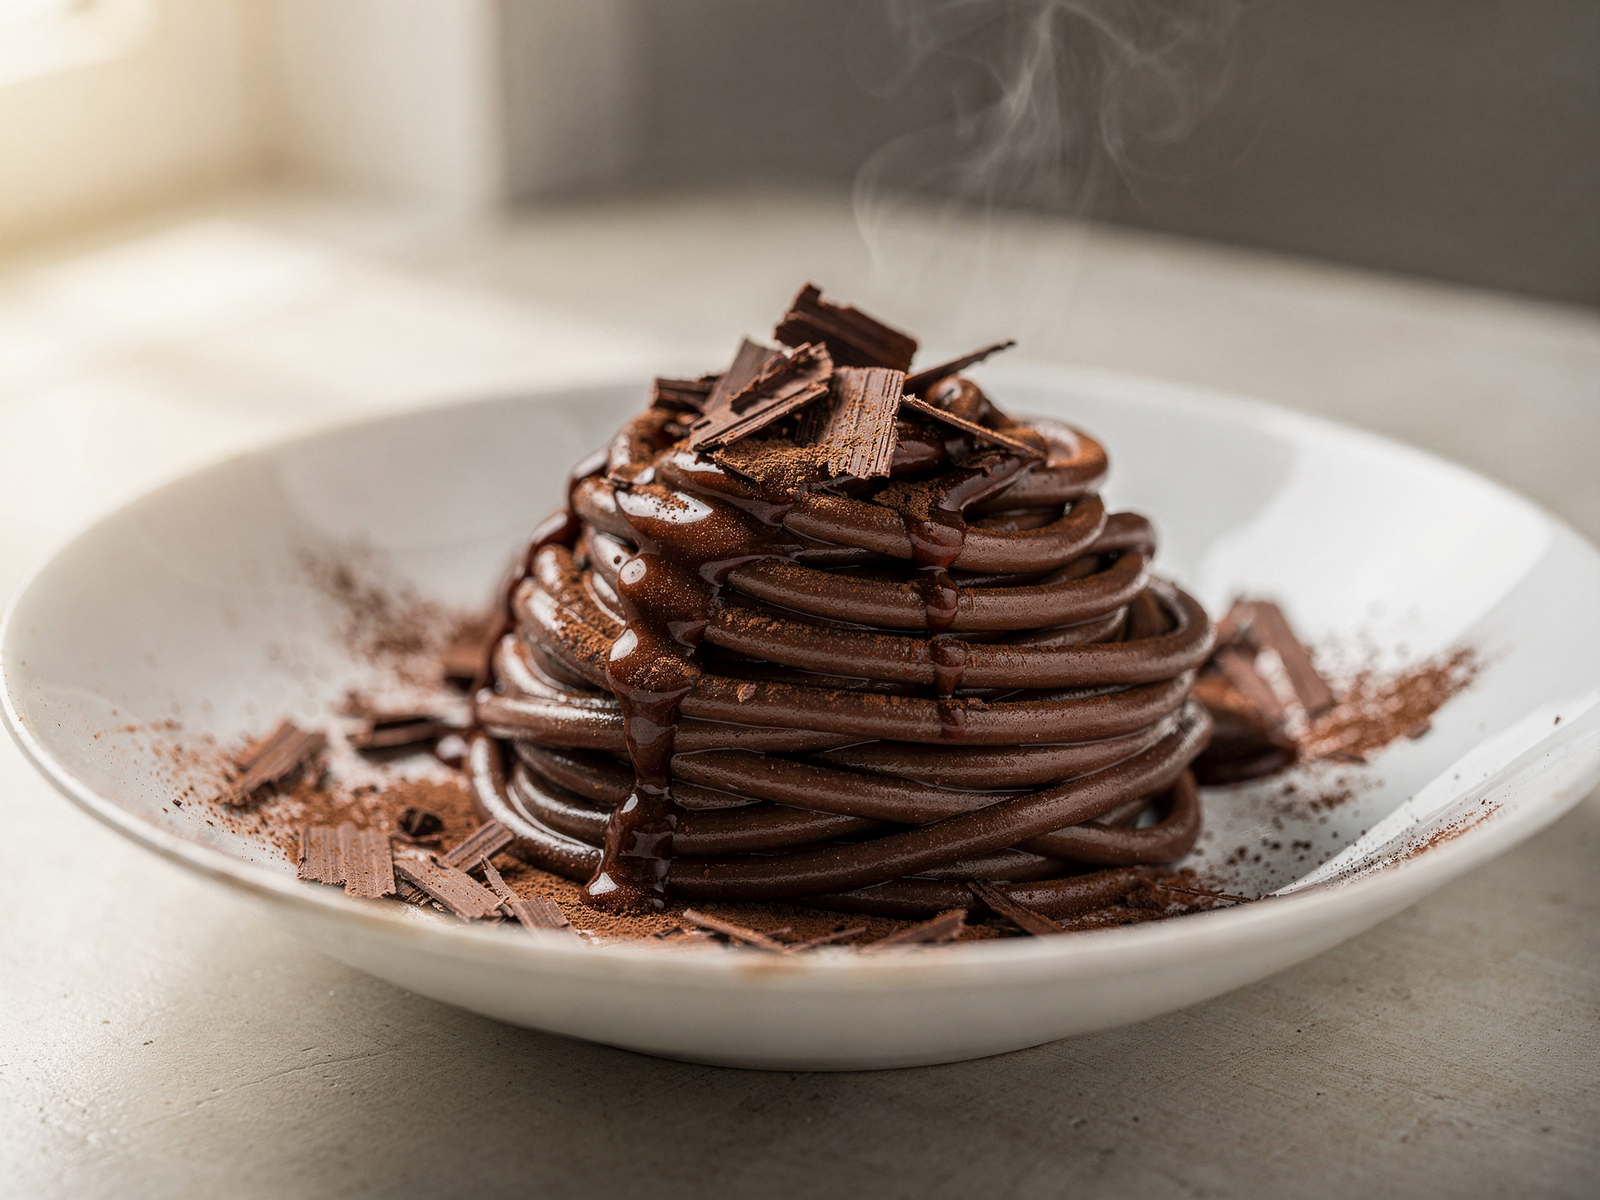
Learn how to make cocoa & chocolate pasta, a simple homemade chocolate noodles dessert that delivers restaurant-quality results in under 30 minutes. This chocolate pasta recipe transforms basic ingredients into a perfect chocolate dessert your whole family will enjoy.
Table of Contents
What You’ll Need
Ingredients
- 2 cups all-purpose flour
- 3 tablespoons unsweetened cocoa powder
- 2 tablespoons granulated sugar
- 1/4 teaspoon salt
- 2 large eggs
- 1 tablespoon vegetable oil
- 1 teaspoon vanilla extract
- Water as needed
Equipment
- Large mixing bowl
- Fork or whisk
- Pasta machine or rolling pin
- Sharp knife or pastry wheel
- Large pot for boiling
- Colander
- Wooden spoon
Prerequisites
You should have basic kitchen skills and access to standard cooking equipment. No special pasta-making experience is required for this easy dessert recipe. Plan for about 45 minutes of total time, including resting and cooking.
Step 1: Mix the Dry Ingredients for Your Cocoa Pasta
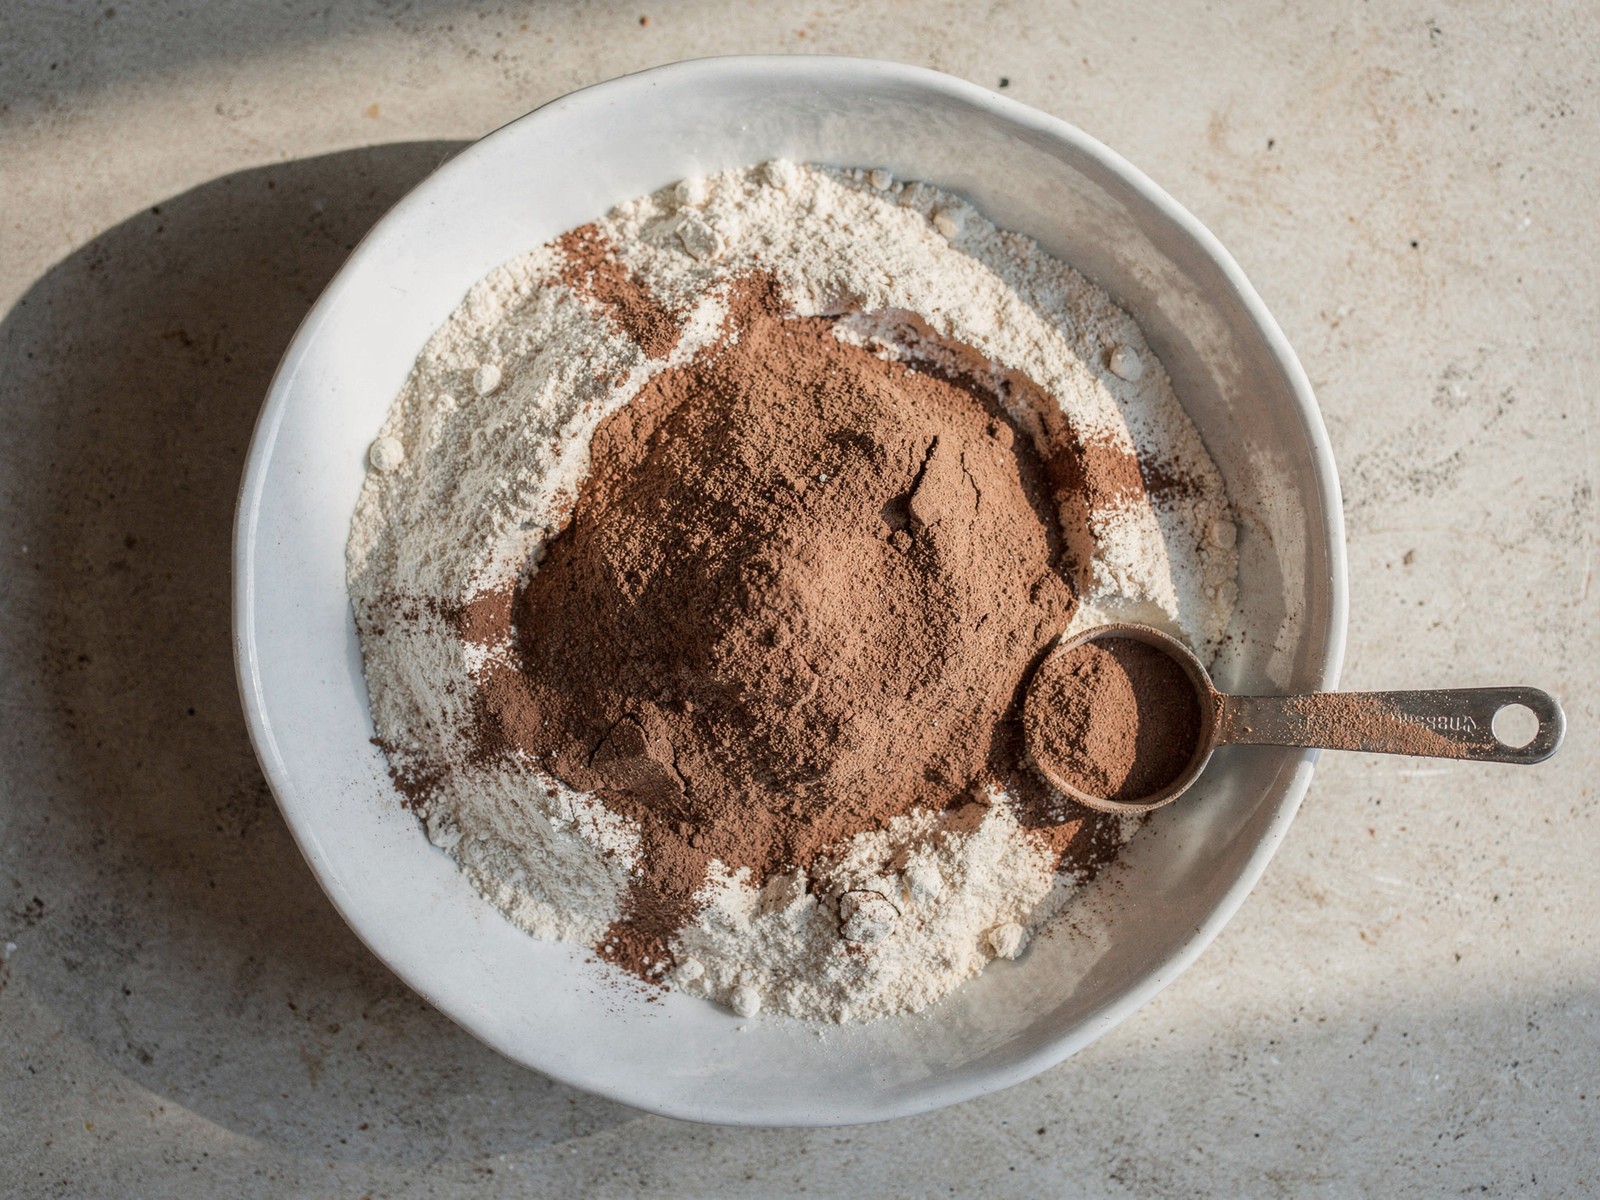
- Pour 2 cups of all-purpose flour into a large mixing bowl.
- Add 3 tablespoons of unsweetened cocoa powder to the flour.
- Mix in 2 tablespoons of granulated sugar and 1/4 teaspoon of salt.
- Whisk these dry ingredients together for 30 seconds until evenly combined.
The cocoa flour pasta base starts here. Combining these ingredients thoroughly ensures even chocolate distribution throughout your noodles. Take your time with this step to avoid lumpy dough later.
Step 2: Create a Well and Add Wet Ingredients
- Push the dry mixture to the sides of your bowl, creating a well in the center.
- Crack 2 large eggs directly into the well.
- Add 1 tablespoon of vegetable oil and 1 teaspoon of vanilla extract to the eggs.
- Use a fork to gently beat the egg mixture for about 20 seconds.
This traditional method prevents your cocoa dessert pasta from becoming lumpy. The well keeps wet and dry ingredients separate until you’re ready to combine them. Work carefully to avoid splashing egg outside the bowl.
Step 3: Combine and Knead Your Chocolate Pasta Dough
- Using your fork, slowly incorporate the flour mixture into the egg mixture.
- Continue mixing until a shaggy dough forms.
- Dust your work surface with additional cocoa powder or flour.
- Transfer the dough to your work surface and knead for 8-10 minutes.
- Knead until the dough becomes smooth, elastic, and no longer sticky.
Kneading develops gluten, which gives your sweet chocolate noodles the right texture. Your hands may become slightly stained from the cocoa, which is normal. If the dough feels too dry, add water one teaspoon at a time. If it’s too sticky, dust with more flour gradually.
Step 4: Rest Your Chocolate Pasta Dough
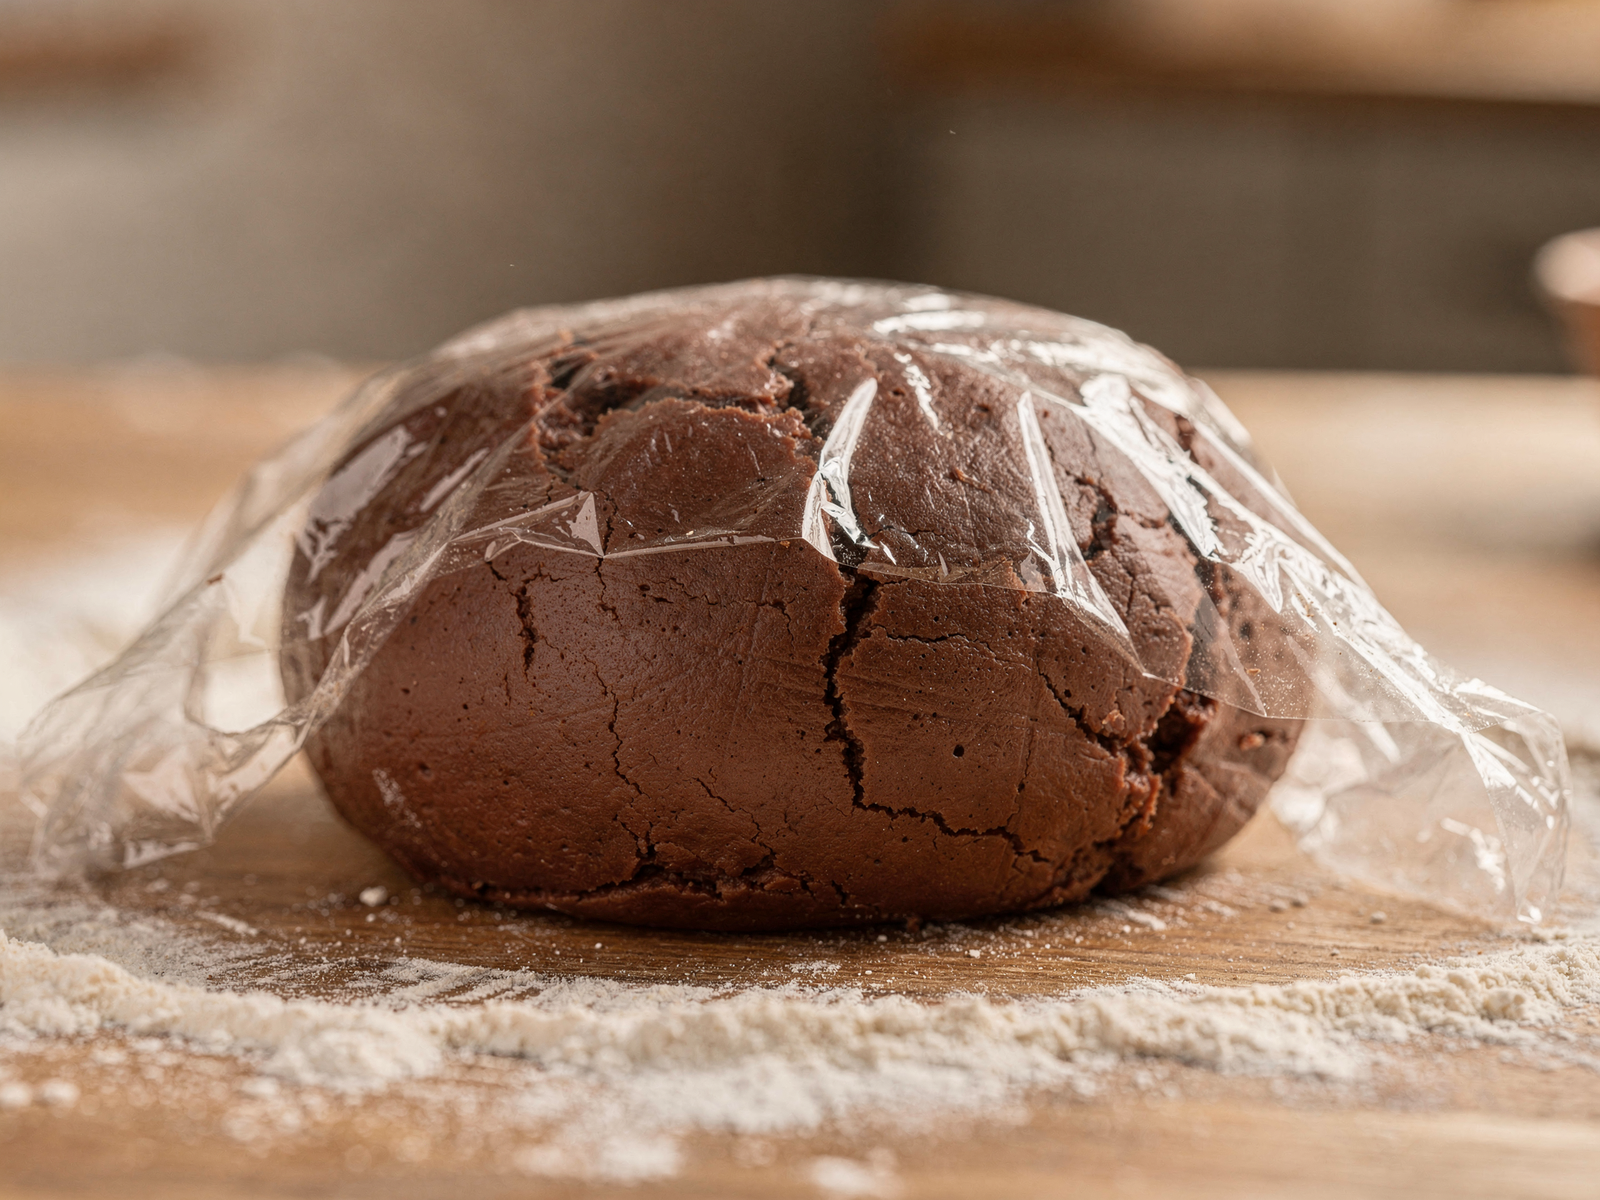
- Form the kneaded dough into a smooth ball.
- Cover it with plastic wrap or an inverted bowl.
- Let the dough rest at room temperature for 30 minutes.
This resting period allows the gluten to relax and makes rolling easier. Skipping this step will make your cocoa pasta dough difficult to work with. During this time, you can prepare any toppings or sauces for your sweet pasta dish.
Step 5: Roll and Shape Your Homemade Chocolate Noodles
- Divide your rested dough into 4 equal portions.
- Working with one portion at a time, flatten it slightly with your hands.
- Use a pasta machine set to the widest setting, or use a rolling pin.
- Pass the dough through the machine or roll it to about 1/16-inch thickness.
- Fold the dough in half and repeat this process 2-3 times for smoother noodles.
- After the final pass, let the sheet rest for 2 minutes.
- Cut the sheets into 1/4-inch wide strips using a sharp knife or pasta cutter.
- Dust the cut noodles with flour and spread on a clean surface to dry slightly.
The chocolate pasta tutorial key here is patience. Don’t rush the rolling process, as this develops the proper texture for sweet chocolate noodles. Properly shaped noodles cook evenly and deliver the best results. Repeat this process with your remaining three dough portions.
Step 6: Cook Your Cocoa & Chocolate Pasta
- Fill a large pot with 6-8 quarts of water.
- Bring the water to a rolling boil and add 1 tablespoon of salt.
- Carefully add your homemade chocolate noodles to the boiling water.
- Stir gently with a wooden spoon to prevent sticking.
- Cook for 3-4 minutes, stirring occasionally.
- Test a noodle for doneness. It should be tender but still slightly firm (al dente).
- Drain the cooked pasta in a colander.
Cooking time depends on noodle thickness. Fresh pasta cooks much faster than dried varieties. Taste-test early to avoid overcooking your perfect chocolate dessert. Baked sweet noodle puddings offer another creative way to serve cooked chocolate pasta.
Serving Your Perfect Chocolate Dessert
Your sweet pasta dish tastes delicious with several topping options. Toss with melted butter and cocoa powder for a simple finish. Drizzle with chocolate sauce, add fresh berries, or dust with powdered sugar. Try pairing it with easy vermicelli and fine-pasta milk desserts for inspiration on complementary flavor combinations.
Serve your cocoa dessert pasta warm for the best flavor and texture. This sweet chocolate noodles recipe serves 4-6 people as a dessert course. Leftovers can be refrigerated for up to 2 days and reheated gently.
Common Mistakes to Avoid
- Skipping the rest period: This leads to tough, difficult-to-roll dough that tears easily.
- Adding too much water: Excess moisture makes sticky dough. Add water gradually, one teaspoon at a time.
- Rolling too thin: Thin noodles break during cooking. Aim for consistent 1/16-inch thickness.
- Overcooking the pasta: Fresh chocolate pasta cooks quickly. Check at 3 minutes to avoid mushy results.
- Not dusting with flour: Noodles will stick together. Use cocoa powder or flour between layers.
- Using sweetened cocoa powder: This creates overly sweet results. Unsweetened cocoa is essential for balance.
Frequently Asked Questions
How long does homemade chocolate pasta stay fresh?
Fresh cocoa pasta keeps in the refrigerator for 2-3 days in an airtight container. You can also freeze uncooked noodles for up to 3 months. Freeze them on a baking sheet first, then transfer to a freezer bag to prevent clumping.
Can I make this chocolate pasta recipe ahead of time?
Yes, you can prepare the dough up to 1 day ahead. Wrap it tightly in plastic wrap and refrigerate. Bring it to room temperature for 15 minutes before rolling. You can also roll and cut the noodles ahead, then cook them fresh when needed.
What is the difference between cocoa flour pasta and regular chocolate pasta?
Cocoa powder comes from fermented and roasted cacao beans with most cocoa butter removed. This creates a lighter texture and more intense chocolate flavor compared to whole chocolate. Our chocolate pasta recipe uses cocoa powder for the best balance of flavor and texture.
Can I use all-purpose flour substitutes?
Whole wheat flour works, though it produces denser noodles. Use a 1:1 ratio. Gluten-free flour blends are possible but require careful hydration adjustment. Test a small batch first, as gluten-free doughs behave differently. For best results with this easy dessert recipe, stick with all-purpose flour.
What toppings pair best with cocoa pasta?
Sweet chocolate noodles pair wonderfully with chocolate ganache, whipped cream, fresh raspberries, or a dusting of cinnamon sugar. You can also toss them with melted butter mixed with honey for a simpler option.
Cocoa & Chocolate Pasta
Equipment
- Large mixing bowl
- Fork or whisk
- Pasta machine or rolling pin
- Sharp knife or pastry wheel
- Large pot for boiling
- Colander
- Wooden spoon
Ingredients
For the Dough
- 2 cups all-purpose flour
- 3 tablespoons unsweetened cocoa powder
- 2 tablespoons granulated sugar
- 1/4 teaspoon salt
For the Wet Mixture
- 2 large eggs
- 1 tablespoon vegetable oil
- 1 teaspoon vanilla extract
- water as needed
Instructions
- Pour the all-purpose flour into a large mixing bowl. Add the unsweetened cocoa powder, granulated sugar, and salt. Whisk the dry ingredients together for about 30 seconds until evenly combined to ensure even chocolate distribution.
- Push the dry mixture to the sides of the bowl, creating a well in the center. Crack the eggs directly into the well, then add the vegetable oil and vanilla extract. Use a fork to gently beat the egg mixture for about 20 seconds.
- Using your fork, slowly incorporate the flour mixture into the eggs until a shaggy dough forms. Dust your work surface with cocoa powder or flour, transfer the dough, and knead for 8 to 10 minutes until smooth, elastic, and no longer sticky. Add water a teaspoon at a time if too dry, or dust with flour if too sticky.
- Form the kneaded dough into a smooth ball and cover with plastic wrap or an inverted bowl. Let it rest at room temperature for 30 minutes to allow the gluten to relax and make rolling easier.
- Divide the rested dough into 4 equal portions. Working with one at a time, flatten slightly and pass through a pasta machine on the widest setting, or roll with a rolling pin to about 1/16-inch thickness. Fold in half and repeat 2 to 3 times for smoother noodles, then let the sheet rest for 2 minutes.
- Cut the sheets into 1/4-inch wide strips using a sharp knife or pasta cutter. Dust the cut noodles with flour and spread them on a clean surface to dry slightly. Repeat with the remaining dough portions.
- Fill a large pot with 6 to 8 quarts of water and bring to a rolling boil. Add 1 tablespoon of salt, then carefully add the chocolate noodles. Stir gently with a wooden spoon to prevent sticking and cook for 3 to 4 minutes, until tender but still slightly firm (al dente).
- Drain the cooked pasta in a colander. Serve warm with toppings such as melted butter and cocoa powder, chocolate sauce, fresh berries, or a dusting of powdered sugar.
Notes
Conclusion
Making cocoa & chocolate pasta at home is easier than you might think. This chocolate pasta recipe delivers professional results using simple, accessible ingredients. Follow these steps carefully, avoid common mistakes, and you’ll create a perfect chocolate dessert that impresses family and friends. The combination of fresh homemade chocolate noodles with quality toppings transforms this simple cocoa pasta cooking project into an elegant, memorable experience.
Start your chocolate pasta tutorial journey today and discover how rewarding it is to create this sweet pasta dish from scratch. Your kitchen will smell incredible, and the taste will exceed any store-bought version. Once you master this easy recipe, experiment with different toppings and variations to make it your own signature dessert.